Healthy Chocolate Chip Oatmeal Bars – Easy, Nutritious Snack
Ever craved something sweet but didn’t want to spend hours in the kitchen? These wholesome bars are here to save the day. Made with simple, everyday ingredients, they’re perfect for anyone looking for a quick, delicious treat.
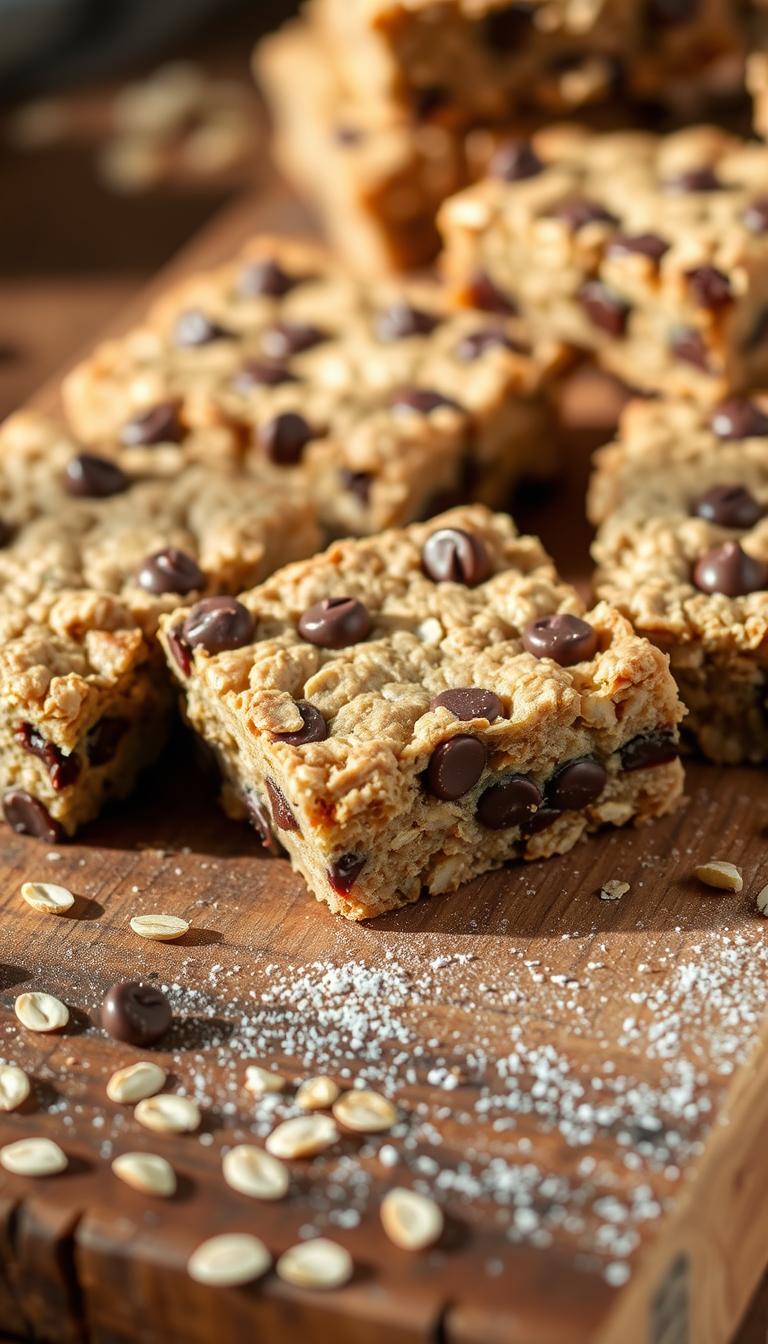
Imagine biting into a thick, chewy bar loaded with gooey chocolate chips and a hint of flaky sea salt. It’s a snack that feels indulgent yet nourishing. Whether you’re a busy parent, a student, or just someone who loves a good treat, this recipe is for you.
What makes these bars so special? They’re versatile. Enjoy them as a quick breakfast, a midday snack, or even a dessert. With just a few steps and minimal equipment, you’ll have a batch ready in no time. Plus, they’re packed with ingredients like oats and almond butter, making them a smarter choice for your cravings.
Ready to get started? This recipe is as easy as stirring, baking, and enjoying. Let’s dive in and create something everyone will love.
Key Takeaways
- These bars are thick, chewy, and made with wholesome ingredients.
- Perfect as a snack, breakfast, or dessert.
- Easy to prepare with minimal equipment and time.
- Versatile recipe that appeals to all ages.
- Packed with oats and almond butter for a nutritious treat.
Ingredients and Their Nutrition Benefits
The secret to these bars lies in their simple, wholesome components. Each ingredient not only adds flavor but also brings a host of nutritional benefits. Let’s dive into what makes this recipe so special.
Oats, Nut Butters, and Natural Sweeteners
Quick cooking oats are the backbone of this recipe. They create a chewy texture while providing fiber and sustained energy. Nut butters, like almond or peanut, add richness and healthy fats. They also help bind the ingredients together for a perfect consistency.
Natural sweeteners like pure maple syrup or honey offer a subtle sweetness without refined sugar. They’re packed with antioxidants and provide a healthier alternative to traditional sweeteners. These ingredients work together to make every bite satisfying and nutritious.
The Wholesome Impact of Each Ingredient
Every component in this recipe plays a role. Baking powder ensures the bars rise slightly, while vanilla extract enhances the flavor profile. A sprinkle of flaky sea salt balances the sweetness and adds a gourmet touch.
Using minimal, natural ingredients means you’re getting a treat that’s as good for your body as it is for your taste buds. From the oats to the chocolate chips, each element contributes to a balanced, wholesome snack.
Ready to explore how these ingredients come together? The next section will guide you through the steps to create these delicious bars.
Secrets to Making Healthy Chocolate Chip Oatmeal Bars
Discover the simple steps to create a treat that’s perfect for any time of day. With the right techniques, you can achieve a chewy, flavorful result that’s sure to impress. Let’s dive into the details.
Mixing Ingredients for Optimal Texture
Start by combining your dry ingredients in a large bowl. This includes oats, flour, and a pinch of salt. Stir them together until evenly mixed. Next, add your wet ingredients like almond butter and maple syrup. Mix gently to avoid overworking the dough.
Fold in the chocolate chips last. This ensures they stay intact and create those gooey pockets of flavor. Using a spatula helps maintain the dough’s consistency. Remember, less mixing means a chewier texture.
Baking Techniques and Timing for Chewy Perfection
Preheat your oven to 375°F for even baking. Line your baking dish with parchment paper to prevent sticking. Press the mixture firmly into the dish for uniform thickness.
Bake for 25 minutes or until the edges are golden brown. Avoid overbaking to keep the center soft and chewy. Let the bars cool completely before cutting. This ensures clean slices and the perfect texture.

| Step | Tip |
|---|---|
| Mixing | Use a large bowl and mix gently to avoid overworking the dough. |
| Folding | Add chocolate chips last and fold them in carefully. |
| Baking | Preheat the oven and bake at 375°F for 25 minutes. |
| Cooling | Let the bars cool completely before cutting for clean slices. |
Quick Cooking Oats vs Rolled Oats: Texture Matters
Not all oats are created equal when it comes to baking. The type you choose can significantly impact the texture of your bars. Understanding the differences between quick cooking oats and rolled oats is essential for achieving the perfect bite.
Quick cooking oats are smaller and thinner, allowing them to soften faster during baking. This results in a chewier, softer texture, ideal for those who enjoy a more tender bite. On the other hand, rolled oats are steamed and flattened, retaining their shape and creating a slightly crunchier consistency.

When testing these oat varieties, quick cooking oats consistently produced bars with a smoother, more cohesive texture. Rolled oats, while still delicious, added a bit of crunch that some may prefer. The choice ultimately depends on your personal preference and the desired outcome of your recipe.
Chewy vs Crunchy: Understanding Your Oats
Quick cooking oats are processed to cook faster, making them perfect for recipes where a soft, chewy texture is desired. They blend seamlessly with other ingredients like almond butter and maple syrup, enhancing the overall consistency of the bars.
Rolled oats, however, are less processed and hold their shape better during baking. This makes them a great option if you prefer a heartier, crunchier bite. Keep in mind that the interaction between oats and other ingredients, such as eggs and nut butter, also plays a role in the final texture.
Here’s a quick guide to help you decide:
| Oat Type | Texture | Best For |
|---|---|---|
| Quick Cooking Oats | Chewy, Soft | Softer, more cohesive bars |
| Rolled Oats | Crunchy, Hearty | Crunchier, textured bars |
Choosing the right oats is a simple yet crucial step in creating a snack that satisfies your taste buds. Whether you prefer chewy or crunchy, understanding these differences ensures your bars turn out just the way you like them.
Flavor Enhancements: Chocolate, Salt, and More
Small details like chocolate and salt can elevate your baking to the next level. These elements are more than just ingredients—they’re the key to creating a treat that’s rich, balanced, and unforgettable. Let’s explore how to make the most of them.

Choosing the Right Chocolate for Rich Taste
The type of chocolate you use can make or break your recipe. Dark chocolate chips add a deep, intense flavor, while semi-sweet varieties offer a milder sweetness. Both options bring a richness that complements the oats and almond butter perfectly.
For the best results, fold the chips into the batter and sprinkle a few on top before baking. This ensures every bite is packed with gooey, melty goodness. Quality matters, so opt for brands with a high cocoa content for a truly indulgent experience.
The Essential Role of Flaky Sea Salt
A sprinkle of flaky sea salt is the finishing touch that ties everything together. It enhances the sweetness of the chocolate and adds a subtle crunch. This contrast creates a more complex flavor profile, making each bite more satisfying.
During recipe testing, this small addition proved vital. It balanced the richness of the chocolate and highlighted the natural sweetness of the maple syrup. For the best results, use a high-quality salt like Maldon for its delicate texture and clean taste.
By focusing on these details, you can transform a simple recipe into a dessert that’s both delicious and memorable. Whether you’re baking for yourself or sharing with others, these enhancements ensure your bars are a hit every time.
Recipe Variations and Customization
Looking to put your own spin on a classic treat? Here’s how. This recipe is incredibly versatile, making it easy to adapt for dietary needs or personal preferences. Whether you’re avoiding gluten, reducing sugar, or just want to experiment, these ideas will help you create something uniquely yours.

Allergy-Friendly and Gluten-Free Adaptations
For those with allergies or gluten sensitivities, simple swaps can make this recipe safe and delicious. Replace regular flour with a gluten-free blend to ensure it’s celiac-friendly. If you’re avoiding eggs, try using mashed banana, unsweetened applesauce, or pumpkin puree as a binder.
Nut allergies? Swap almond butter for sunflower seed butter or tahini. These changes maintain the recipe’s texture while accommodating dietary restrictions. Always check labels to ensure your ingredients are free from cross-contamination.
Creative Mix-In Ideas to Boost Flavor
Why stick to the basics when you can add a twist? Experiment with mix-ins like walnuts, pecans, or shredded coconut for added crunch. For a sweeter touch, try candy bits or dried fruit like cranberries or raisins.
Lower the sugar content by using alternative sweeteners like stevia or monk fruit. Or, add a protein boost by mixing in chia seeds or flaxseed. These small tweaks can transform the flavor and nutritional profile of your bars.
| Ingredient | Substitution | Effect |
|---|---|---|
| Flour | Gluten-free blend | Safe for gluten sensitivities |
| Eggs | Mashed banana | Adds moisture and binds |
| Almond Butter | Sunflower seed butter | Nut-free option |
| Chocolate Chips | Dark chocolate chunks | Richer flavor |
These adaptations allow you to personalize the recipe while keeping it delicious and satisfying. Whether you’re baking for yourself or sharing with others, these ideas ensure your bars are a hit every time.
Nutritional Breakdown and Serving Suggestions
Understanding the nutritional value of your snack can help you make better choices. These wholesome bars are not only delicious but also packed with nutrients that support your daily needs. Let’s dive into the details to see why they’re a smart addition to your diet.

Calorie and Macronutrient Information
Each bar contains approximately 160 calories, making it a satisfying yet light option. The macronutrient breakdown includes 24g of carbohydrates, 4g of protein, and 6g of fat. This balance ensures you get sustained energy without feeling weighed down.
The recipe uses whole grains like oats, which provide 3g of dietary fiber per serving. Natural sweeteners like maple syrup add just 7g of sugar, far less than traditional desserts. Healthy fats from almond butter and unsaturated fats from oats contribute to a well-rounded profile.
| Nutrient | Amount per Serving |
|---|---|
| Calories | 160 |
| Carbohydrates | 24g |
| Protein | 4g |
| Fat | 6g |
| Fiber | 3g |
| Sugar | 7g |
Versatile Ways to Enjoy Your Bars
These bars are perfect for any time of day. Enjoy them as a quick breakfast with a glass of milk or pair them with yogurt and fresh fruit for a balanced snack. They’re also great as an energizing treat during a busy afternoon.
For a creative twist, crumble a bar over a smoothie bowl or use it as a base for a dessert charcuterie board. The possibilities are endless, making this recipe a versatile addition to your kitchen.
By focusing on whole ingredients and natural sweeteners, these bars offer a healthier alternative to traditional desserts. Whether you’re fueling up for the day or satisfying a sweet craving, they’re a delicious and nutritious choice.
Storing, Freezing, and Reheating Tips
Want to keep your baked treats fresh and ready to enjoy anytime? Proper storage and reheating techniques ensure your bars stay delicious and maintain their chewy texture. Whether you’re making a large batch or saving leftovers, these tips will help you enjoy them at their best.
Best Practices for Storage and Shelf Life
To keep your bars fresh, store them in an airtight container. Place parchment paper between layers to prevent sticking. In the refrigerator, they’ll stay tasty for up to two weeks. For longer storage, freezing is a great option.
When freezing, wrap individual bars in plastic wrap or foil. Place them in a freezer-safe bag or container. They’ll stay fresh for up to two months. Thaw them in the fridge or at room temperature before enjoying.

How to Reheat for a Fresh-From-Oven Experience
Reheating your bars is simple and brings back that warm, chewy texture. For a quick option, microwave a bar for 20-30 seconds. This method works well for a single serving.
If you prefer a crispier edge, use an oven or toaster oven. Preheat to 350°F and heat the bar for 5-10 minutes. This method mimics the fresh-from-oven experience, making it perfect for a small batch.
| Storage Method | Duration | Tips |
|---|---|---|
| Refrigerator | Up to 2 weeks | Use an airtight container with parchment paper. |
| Freezer | Up to 2 months | Wrap individually and store in a freezer-safe bag. |
| Room Temperature | Up to 3 days | Keep in a cool, dry place in an airtight container. |
Proper storage and reheating ensure your bars remain flavorful and nutritious. Whether you’re enjoying them as a quick snack or a dessert, these tips make it easy to savor every bite.
Conclusion
This recipe is a game-changer for anyone looking for a quick, delicious treat. With simple ingredients like oats, almond butter, and maple syrup, it’s easy to whip up a batch in no time. The chewy texture and rich flavor make it a versatile option for breakfast, snacks, or dessert.
By using wholesome ingredients and precise baking techniques, you can create a snack that’s both satisfying and nutritious. The recipe’s flexibility allows for endless customization, whether you prefer peanut butter or want to sprinkle in some extra toppings.
These bars are packed with nutrients, offering a balanced mix of carbs, protein, and healthy fats. They’re perfect for busy days or when you need a quick energy boost. Plus, they’re easy to store and reheat, ensuring you always have a tasty option on hand.
Ready to give it a try? Experiment with variations and share your results. This recipe is sure to become a favorite in your kitchen. Don’t forget to comment or revisit it for more inspiration!