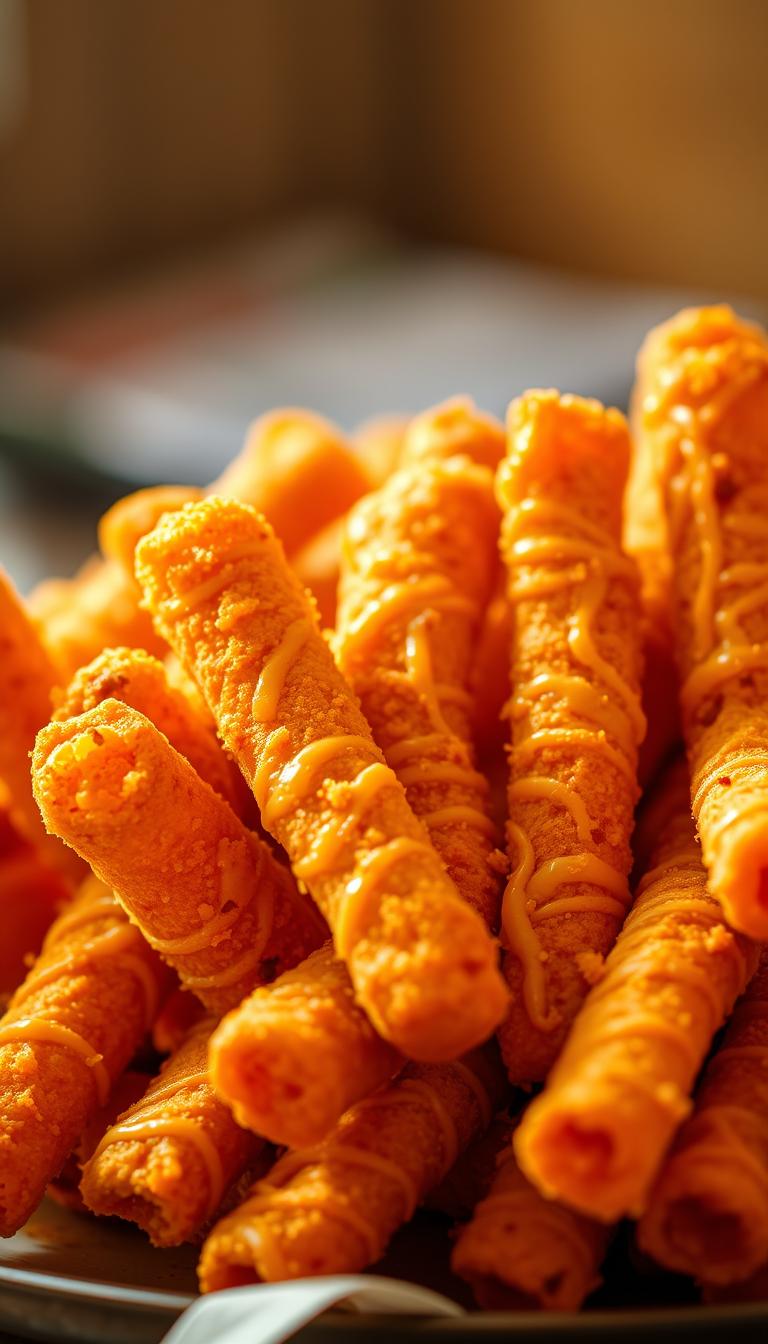
Cheesy Taco Sticks: Crispy, Cheesy, Delicious Snack
Imagine biting into a warm, crispy snack that combines the savory flavors of a taco with the gooey goodness of melted cheese. That’s exactly what you get with this irresistible recipe. Perfect for parties, game nights, or even a quick family treat, these snacks are sure to become a favorite.
What makes this dish stand out is its simplicity. Using pre-made pizza dough, you can whip up a batch in no time. The filling—ground beef seasoned with taco spices and paired with melty cheese—creates a flavor explosion in every bite. Plus, they’re baked to golden perfection, making them crispy on the outside and soft on the inside.
This guide will walk you through the steps to create these crowd-pleasing snacks. You’ll also find tips for customizing the recipe to suit your taste and troubleshooting advice to ensure success. Ready to get started? Let’s dive in!
Key Takeaways
- Easy-to-follow recipe using pre-made pizza dough.
- Perfect blend of crispy, cheesy, and savory flavors.
- Great for parties, game nights, or family snacks.
- Customizable with your favorite toppings and dips.
- Baked to golden perfection for a satisfying crunch.
Introduction to a Tasty Taco Twist
Transform your taco night into a handheld delight with this creative recipe. Combining the bold flavors of a taco with the convenience of a snack, this dish is perfect for any occasion. Whether it’s a family dinner or a party appetizer, these treats are sure to impress.
Overview of the Recipe Concept
This recipe takes familiar ingredients like pizza dough and ground beef and turns them into something extraordinary. The dough is rolled out, filled with seasoned meat and melty cheese, then baked to golden perfection. The result? A crispy, flavorful snack that’s hard to resist.
What makes this dish special is its versatility. You can customize it with your favorite toppings or dips. It’s also a great way to involve the whole family in the kitchen. From rolling the dough to sprinkling on the taco seasoning, everyone can join in the fun.
Why You’ll Love This How-To Guide
This guide is designed to make the process easy and enjoyable. With simple steps and clear instructions, you’ll have a batch ready in no time. Here’s what you’ll gain:
- Simplicity: Pre-made dough cuts down on prep time.
- Flavor: A perfect balance of savory meat, melty cheese, and bold seasoning.
- Fun: A hands-on activity that’s great for family bonding.
Ready to get started? Let’s dive into the details and create a snack that’s as fun to make as it is to eat.
| Ingredient | Role |
|---|---|
| Pizza Dough | Base for the snack |
| Ground Beef | Savory filling |
| Colby Jack Cheese | Melty, flavorful layer |
| Taco Seasoning | Bold, zesty flavor |
Understanding Cheesy Taco Sticks: What Makes Them So Irresistible?
There’s something magical about the combination of savory meat, melted cheese, and a crispy dough exterior. This snack is a perfect balance of textures and flavors that keeps you coming back for more.
The seasoned beef provides a rich, savory base, while the melted colby jack cheese adds a creamy, gooey layer. The dough, baked to golden perfection, offers a satisfying crunch that contrasts beautifully with the soft interior.

What ties it all together is the taco seasoning. Its bold, zesty flavor enhances the meat and cheese, creating a complex taste profile. Each bite is a delightful surprise, with layers of flavor and texture that work in harmony.
Here’s a breakdown of what makes this snack so addictive:
- Texture: Crispy outside, soft inside.
- Flavor: Savory beef, melty cheese, and bold seasoning.
- Simplicity: Easy to make with minimal prep time.
This dish is a crowd-pleaser because it caters to both kids and adults. The careful selection of ingredients ensures every bite is packed with flavor and satisfaction.
| Element | Role |
|---|---|
| Seasoned Beef | Savory base |
| Colby Jack Cheese | Melty, creamy layer |
| Taco Seasoning | Bold, zesty flavor |
| Pizza Dough | Crispy exterior |
Essential Ingredients and Tools for Your Taco Creation
To create this crowd-pleasing snack, you’ll need a few key ingredients and tools that make the process seamless. The right components ensure the perfect balance of flavor and texture, while the proper equipment simplifies prep and cleanup.
Must-Have Ingredients
Start with ground beef or turkey for a savory filling. Season it with taco seasoning to add bold, zesty flavor. For the dough, Pillsbury pizza dough is a convenient choice. It’s pre-made and available in the refrigerated section, saving you time without compromising quality.
Next, Colby Jack cheese sticks provide a melty, creamy layer that complements the meat. Add melted butter mixed with garlic powder and dried parsley for a golden, flavorful crust. These ingredients work together to create a snack that’s both satisfying and easy to make.

Equipment and Kitchen Prep Tips
Having the right tools on hand ensures a smooth cooking experience. A baking sheet is essential for baking the sticks to perfection. Use parchment paper or a non-stick spray to prevent sticking and make cleanup easier.
Organize your workstation before starting. Preheat the oven to the recommended temperature and have all ingredients measured and ready. This prep step saves time and helps you stay focused as you assemble the sticks.
With these ingredients and tools, you’re set to create a snack that’s as fun to make as it is to eat. Ready to get started? Let’s move on to preparing the filling.
Preparing Your Taco Meat and Seasoning
The key to a flavorful bite lies in how you prepare the meat. Properly browning and seasoning the filling ensures every bite is packed with savory goodness. Follow these steps to create a base that’s rich, zesty, and perfect for your snack.
Step-by-Step Meat Browning and Seasoning
Start by heating a skillet over medium heat. Add ground beef and cook for 5-7 minutes, breaking it into small pieces with a spatula. This step is crucial for developing texture and flavor. Once the meat is browned, drain any excess fat to keep the dish crispy.
Next, sprinkle taco seasoning evenly over the meat. For extra depth, add a pinch of garlic powder or chili powder. Stir in 1/4 cup of water and let it simmer for 2-3 minutes. This allows the seasoning to fully infuse the meat, creating a bold, zesty flavor.

- Cook the meat thoroughly to avoid a greasy texture.
- Drain excess fat to maintain crispness in the final dish.
- Follow the instruction on the seasoning packet for the best results.
Once the meat is seasoned, let it cool slightly before assembling. This prevents the dough from becoming soggy. You can also experiment with other proteins like ground turkey or pre-made taco meat for added convenience.
By mastering this step, you’ll create a filling that’s both flavorful and versatile. Ready to move on to the next stage? Let’s assemble your snack!
Assembling Your Cheesy Taco Sticks
Assembling these handheld delights is easier than you think with pre-made dough. The process is straightforward, ensuring a crispy exterior and a gooey, flavorful center. Let’s break it down step by step.
Working with Pre-Made Dough
Start by unrolling your Pillsbury pizza dough on a lightly floured surface. Divide it into even rectangles, about 1/4 inch thick. This ensures uniform size for each piece.
Place a spoonful of cooled, seasoned meat in the center of each rectangle. Add a halved Colby Jack cheese stick for that melty, creamy layer. Keep the filling centered to avoid spills during baking.

Rolling and Sealing Techniques
Gently fold the dough over the filling, pressing the edges to seal. Use your fingers to pinch the seams tightly, ensuring no gaps. This step is crucial to keep the filling inside while baking.
Roll the dough into a log shape, making sure it’s snug but not overstretched. Overworking the dough can lead to tearing, so handle it with care. Place each piece seam-side down on a prepared baking sheet.
With these techniques, you’ll achieve perfectly sealed pieces ready for the oven. The result? A golden, crispy exterior with a deliciously soft and cheesy interior.
Baking Techniques for a Perfectly Crispy Finish
Achieving the perfect crispy finish on your snack requires precision and the right techniques. Baking is the final step that transforms your creation into a golden, crunchy delight. Let’s explore how to get it just right.
Oven Temperature and Timing Tips
Preheating your oven is crucial for even baking. Set it to 400°F to 425°F before placing your assembled pieces inside. This ensures the pizza dough cooks evenly and develops a crisp exterior.
Bake for 10-14 minutes, checking at the 10-minute mark. The exact time may vary based on dough thickness and filling volume. Thicker pieces may need an extra minute or two.

How to Achieve a Golden-Brown Crust
For a rich, golden finish, brush the assembled pieces with a blend of melted butter and garlic powder. This adds flavor and helps the crust brown evenly. Be generous but avoid over-saturating the dough.
Keep an eye on the oven during the final few minutes. The sticks should turn a deep golden-brown without burning. Rotate the baking sheet if needed for even browning.
By following these tips, you’ll create a snack that’s crispy on the outside and irresistibly soft on the inside. Ready to serve? Let’s move on to customizing your creation!
Customizing Your Cheesy Taco Sticks to Your Taste
Personalize your snack experience by experimenting with flavors and ingredients. This recipe is highly adaptable, allowing you to tailor it to your preferences. Whether you prefer a spicy kick or a vegetarian twist, the possibilities are endless.
Spice Level Adjustments and Ingredient Variations
Adjust the heat to suit your taste by adding jalapeños or a dash of cayenne pepper. For a milder option, reduce the amount of taco seasoning or use a low-sodium version. You can also incorporate shredded chicken or ground turkey as alternative proteins.
Enhance the flavor with additional toppings like diced tomatoes, onions, or fresh cilantro. Pair your creation with dips such as sour cream, guacamole, or salsa for a burst of freshness.

Vegetarian or Alternative Meat Options
For a vegetarian twist, replace the meat with meatless crumbles or sautéed vegetables like bell peppers and zucchini. This variation is perfect for those looking to enjoy a plant-based version of the recipe.
Use leftover ingredients creatively to reduce waste. For example, incorporate roasted veggies or shredded cheese from a previous dinner. This not only saves time but also adds a unique flavor profile.
Customization makes this recipe versatile for any occasion. Whether it’s a casual weeknight meal or a party appetizer, you can easily adapt it to suit your needs. Experiment with different combinations to find your favorite version.
| Customization | Suggestions |
|---|---|
| Spice Level | Add jalapeños or cayenne pepper |
| Protein | Use chicken, turkey, or meatless crumbles |
| Toppings | Diced tomatoes, onions, cilantro |
| Dips | Sour cream, guacamole, salsa |
Creative Serving Suggestions and Dipping Sauces
Elevate your snack game with creative serving ideas and dipping sauces that enhance every bite. Pairing your crispy taco sticks with the right accompaniments can transform them into a complete meal or party favorite. Let’s explore some delicious options.
Pairings with Salsa, Sour Cream, and Guacamole
For a burst of flavor, serve your taco sticks with a trio of dipping sauces. Salsa adds a fresh, tangy kick, while sour cream offers a cool, creamy contrast. Guacamole brings a rich, avocado-based flavor that complements the savory filling perfectly.

These dips not only enhance the taste but also add a layer of texture. The creamy dips paired with the crunchy sticks create a satisfying balance. For a fun twist, try mixing sour cream with a dash of lime juice or adding diced jalapeños to your guacamole.
Side Dishes That Complement Taco Flavors
Complete your meal with side dishes that harmonize with the taco flavors. A light salad with a lime vinaigrette adds freshness, while Mexican rice or refried beans provide a hearty accompaniment. These sides not only round out the meal but also make it more filling.
For a casual dinner, consider serving your taco sticks with a side of tortilla chips and extra salsa. This combination is perfect for sharing and adds variety to your plate. Experiment with different sides to find your favorite pairing.
| Serving Suggestion | Description |
|---|---|
| Salsa | Fresh, tangy dip with diced tomatoes and onions |
| Sour Cream | Creamy dip with a cool, smooth texture |
| Guacamole | Rich avocado-based dip with lime and cilantro |
| Mexican Rice | Hearty side dish with tomatoes and spices |
| Refried Beans | Creamy bean dish with a savory flavor |
For an attractive presentation, arrange your taco sticks on a platter with small bowls of dipping sauces. Sprinkle some shredded colby jack cheese or drizzle a special sauce over the top for added flair. These finishing touches make your dish visually appealing and even more enticing.
With these serving suggestions, your taco sticks will be the star of any meal. Whether it’s a family dinner or a party appetizer, these ideas will elevate your snack to the next level.
Storage and Reheating Tips for Fresh Taco Sticks
Keep your snack fresh and flavorful with these storage and reheating tips. Whether you have leftovers or want to prepare ahead, these methods ensure your dish stays delicious.
Proper Storage Methods to Keep Them Fresh
To maintain freshness, store your sticks in an airtight container. This prevents air exposure, which can dry out the dough and affect the texture. Refrigerate them for up to 3-4 days, ensuring the temperature stays below 40°F (4°C).
For longer storage, freeze the sticks in a single layer on a baking sheet before transferring them to a freezer-safe bag. This prevents them from sticking together. Frozen sticks can last up to 3 months without losing their flavor.

Reheating for Leftovers Without Losing Crispiness
When reheating, avoid the microwave to prevent sogginess. Instead, use a toaster oven or conventional oven preheated to 350°F (180°C). Place the sticks on a baking sheet and heat for 10-15 minutes, checking every minute to avoid overcooking.
For extra crispiness, brush the sticks with melted butter or a light coating of sour cream before reheating. This helps restore the golden-brown crust and enhances the flavor. Always ensure the internal temperature reaches 165°F (74°C) for safety.
By following these tips, you can enjoy your snack just as much the second time around. Proper storage and reheating ensure every bite remains crispy and delicious.
Troubleshooting Common Issues in Taco Stick Preparation
Even the best recipes can have hiccups, but with a few tweaks, you can perfect your dish. Whether it’s overfilled sticks or underbaked dough, these issues are easy to fix. Let’s dive into some practical solutions to ensure your snack turns out just right.
Tips for Fixing Overfilled or Underbaked Sticks
Overfilling your sticks can cause leaks, while underbaking leaves the dough soggy. To avoid these problems, stick to the recommended instruction for filling quantities. If you notice excess fat from the ground beef, drain it thoroughly before assembling. This keeps the dish crispy and prevents greasiness.
For underbaked dough, adjust your oven temperature slightly. Preheat to 425°F and bake for an extra 2-3 minutes. This ensures a golden-brown crust without burning. If the filling seems over-seasoned, balance it with a sprinkle of garlic powder or dried parsley during assembly.

- Dough not sealing? Pinch the edges tightly and roll gently to avoid gaps.
- Too greasy? Drain excess fat from the meat before filling.
- Underbaked? Increase oven temperature slightly and bake longer.
If you’re working with leftover ingredients, ensure they’re evenly distributed. This prevents overfilling and maintains consistency. Remember, small adjustments can make a big difference. By following these tips, you’ll have a snack that’s crispy, flavorful, and perfectly baked every day.
Conclusion
Creating cheesy taco sticks at home is a simple and rewarding experience. With just a few ingredients like pizza dough, ground beef, and melty cheese, you can whip up a snack that’s both crispy and flavorful. This recipe is perfect for any occasion, whether it’s a family dinner or a party appetizer.
The process is straightforward: prepare the taco meat, assemble the sticks, and bake to golden perfection. You can customize the filling with your favorite toppings or dips like salsa or guacamole. This versatility makes it a hit with everyone.
We encourage you to try this recipe and share your feedback. Your ratings and comments help others discover this delicious dish. With thoughtful technique and simple ingredients, you can enjoy a perfect snack or meal any time.
Thank you for reading, and happy cooking!