Decadent Black Forest Cheesecake: Rich & Creamy Dessert
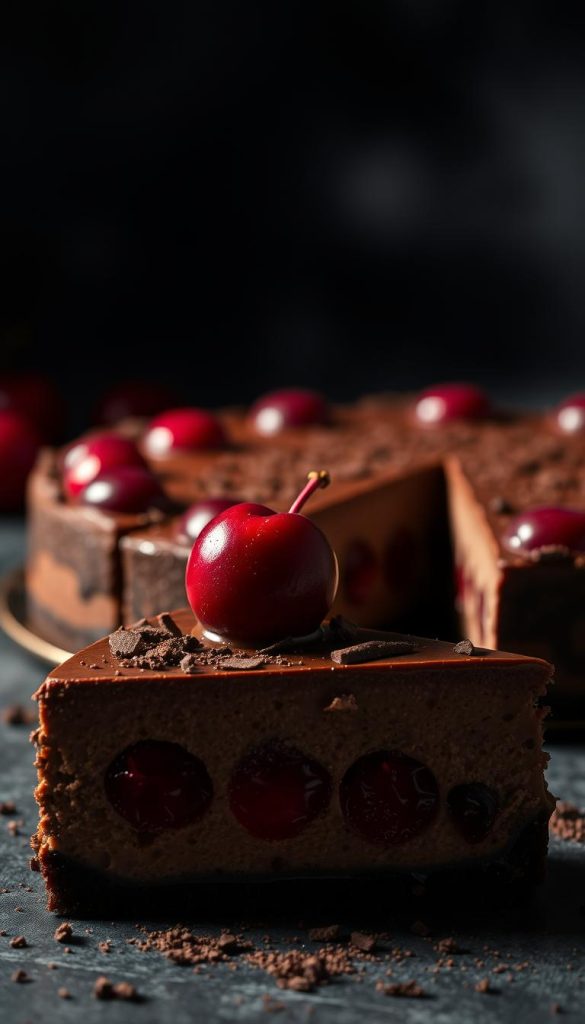
Imagine a dessert that combines the richness of chocolate and the sweetness of cherries in one stunning presentation. Inspired by the classic Black Forest cake, this Black Forest Cheesecake offers a modern twist with a creamy chocolate base and a vibrant cherry topping. Perfect for special occasions like Valentine’s Day or dinner parties, this dessert is both indulgent and surprisingly easy to prepare.
What makes this cheesecake truly special is its perfectly balanced blend of flavors and textures. The base features a rich chocolate cheesecake, while the top is adorned with cherry pie filling, whipped cream, and chocolate shavings. The unique Oreo cookie crust adds a delightful crunch, complementing the smooth filling. Whether you’re a chocolate lover or a fan of fruity desserts, this recipe caters to all tastes.
Throughout this article, you’ll learn the techniques to achieve a silky smooth filling and a perfectly set cake. Discover how to layer ingredients for a visually appealing result and how to prepare this dessert with minimal effort. With its elegant presentation and irresistible taste, this Black Forest Cheesecake is sure to become your go-to recipe for impressing guests.
Key Takeaways
- Combines the richness of chocolate and cherries in a modern cheesecake design.
- Features a unique Oreo cookie crust for added texture.
- Perfect for special occasions like Valentine’s Day or dinner parties.
- Techniques for a silky smooth filling and perfectly set cake.
- Minimal effort required for an elegant and impressive dessert.
Introduction to This Decadent Black Forest Cheesecake Experience
Discover a dessert that masterfully unites the deep richness of chocolate with the vibrant sweetness of cherries, all in a single, breathtaking creation. This Black Forest Cheesecake reimagines the classic Black Forest cake, offering a contemporary twist with its creamy chocolate base and luscious cherry topping. Perfect for special occasions or intimate gatherings, this dessert is as indulgent as it is surprisingly straightforward to prepare.
What truly sets this cheesecake apart is its exquisite balance of flavors and textures. The base features a rich, velvety chocolate cheesecake, while the top is adorned with cherry pie filling, whipped cream, and chocolate shavings. The Oreo cookie crust adds a delightful crunch, complementing the smoothness of the filling perfectly. Whether you’re a devoted chocolate lover or a fan of fruity desserts, this recipe promises to delight every palate.
What Makes This Cheesecake Special?
The blend of chocolate, cherries, and cream cheese creates a truly exceptional dessert experience. Each bite offers a harmonious balance of rich, luscious textures and deep, satisfying flavors. The layered composition of this cheesecake, from its crunchy Oreo crust to its smooth chocolate filling and vibrant cherry topping, makes it a standout among other desserts.
An Overview of the Recipe Post Approach
This post provides a comprehensive guide to crafting your Black Forest Cheesecake, from selecting the finest ingredients to achieving the perfect finish. We emphasize the use of high-quality components such as ripe cherries, premium cream cheese, and gourmet chocolate to ensure an unparalleled taste experience. The approach demystifies each step, from preparing the crust to the final decorative touches, offering practical tips to guarantee success. The clear, user-friendly format makes this recipe accessible to both novices and experienced bakers alike.
Ingredients and Tools for Your Black Forest Cheesecake
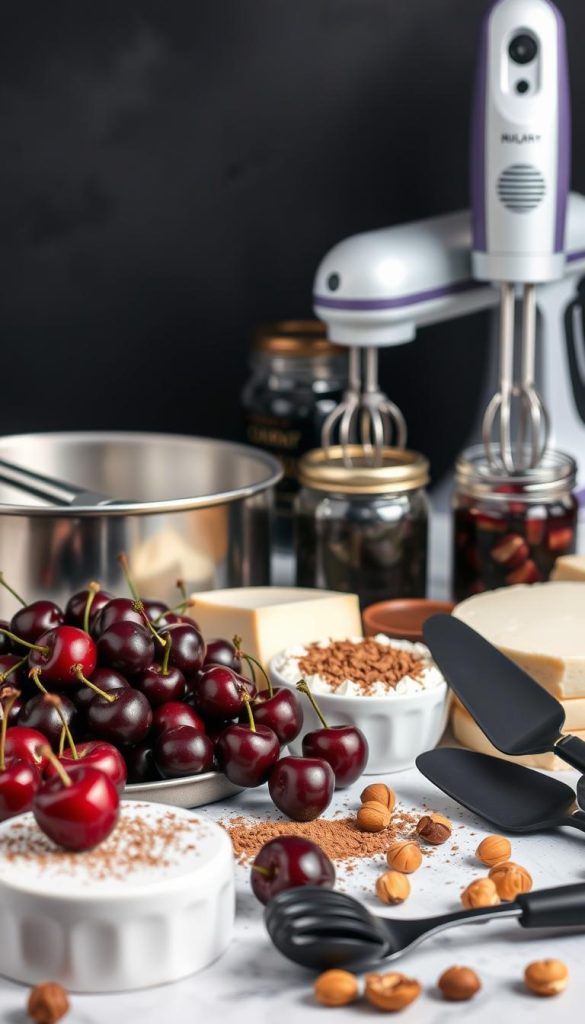
To create this stunning dessert, you’ll need a few essential ingredients and tools. The right components ensure your cheesecake turns out rich, creamy, and visually appealing.
Essential Cheesecake and Chocolate Ingredients
The foundation of this recipe lies in its ingredients. Here’s what you’ll need:
- 24 ounces of cream cheese – Softened to room temperature for a smooth texture.
- 1 cup of granulated sugar – Balances the bitterness of chocolate.
- 1/4 cup of cocoa powder – Adds depth to the chocolate flavor.
- 3 large eggs – Ensures a creamy and well-set filling.
- 8 ounces of semisweet chocolate chips – Melted for a rich, velvety texture.
Crust and Topping Must-Haves
The crust and topping are just as important as the filling. Here’s what you’ll need:
- 1.5 cups of Oreo cookie crumbs – Provides a crunchy base.
- 1/4 cup of unsalted butter, melted – Binds the crust together.
- 1 can of cherry pie filling – Adds a sweet and fruity contrast.
- 1 cup of heavy cream – For a light and airy whipped topping.
| Ingredient/Tool | Quantity | Notes |
|---|---|---|
| Cream Cheese | 24 oz | Softened for smooth texture |
| Granulated Sugar | 1 cup | Balances chocolate bitterness |
| Cocoa Powder | 1/4 cup | Enhances chocolate depth |
| Semisweet Chocolate Chips | 8 oz | Melted for richness |
| Oreo Cookie Crumbs | 1.5 cups | Crunchy crust base |
| Unsalted Butter | 1/4 cup | Melted for crust binding |
| Cherry Pie Filling | 1 can | Sweet and fruity contrast |
| Heavy Cream | 1 cup | Light and airy topping |
| Food Processor | – | For crust preparation |
| Stand Mixer | – | For smooth filling |
| Springform Pan | 9-inch | Ensures easy release |
“The quality of your ingredients directly impacts the final result. Using room-temperature cream cheese and fresh crumbs ensures a smooth, even texture that elevates your dessert.”
Having the right tools is just as important as the ingredients. A food processor helps create a fine crust, while a stand mixer ensures the filling is smooth. A springform pan is essential for baking and cooling the cheesecake properly.
Step-by-Step Preparation: Crafting the Crust and Filling
Creating this dessert involves a few simple steps that ensure a delicious and visually appealing result. Start by preparing the crust and then move on to the filling. Each step is designed to be straightforward, even for those new to baking.
Preparing the Oreo Cookie Crust
To make the crust, crush 24 Oreo cookies into fine crumbs using a food processor. Mix these crumbs with 4 tablespoons of melted unsalted butter until well combined. Press the mixture firmly into the bottom of a 9-inch springform pan. Bake the crust in a preheated oven at 350°F (175°C) for 10 minutes, then let it cool slightly. This creates a sturdy base for your dessert.
Creating the Chocolate Ganache and Cream Cheese Mixture
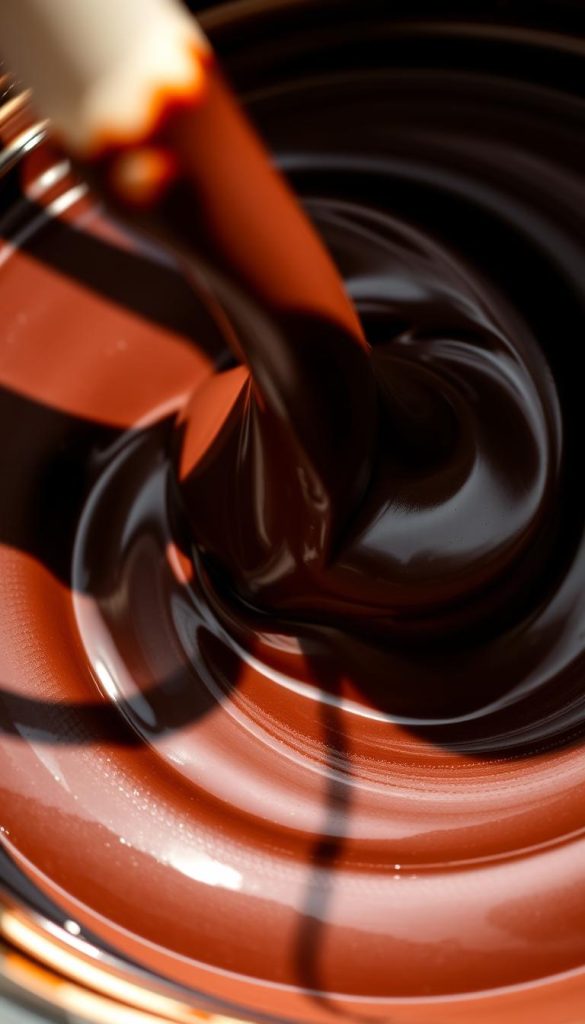
For the ganache, warm 1 cup of heavy cream in a saucepan over low heat until it starts to simmer. Pour the warm cream over 8 ounces of semisweet chocolate chips in a heatproof bowl. Let it sit for 2 minutes, then stir until smooth. In a separate mixing bowl, beat 16 ounces of softened cream cheese until creamy. Gradually add ¾ cup of granulated sugar and ½ cup of unsweetened cocoa powder, mixing until smooth. Beat in 4 large eggs one at a time, ensuring each is fully incorporated before adding the next. Finally, blend in the chocolate ganache mixture until well combined.
Mixing Techniques for a Smooth Filling
To ensure a smooth filling, use a stand mixer to beat the cream cheese mixture on medium speed. Avoid overmixing, as this can incorporate too much air and lead to cracks during baking. The batter should be even and free of lumps. Precision in measuring ingredients like sugar and cocoa powder is crucial for maintaining the flavor profile.
| Ingredient | Quantity | Notes |
|---|---|---|
| Oreo Cookies | 24 | Crushed for crust |
| Unsalted Butter | 4 tbsp | Melted for crust |
| Heavy Cream | 1 cup | For ganache |
| Semisweet Chocolate Chips | 8 oz | For ganache |
| Cream Cheese | 16 oz | Softened |
| Granulated Sugar | ¾ cup | For filling |
Using high-quality tools like a springform pan and stand mixer ensures your dessert turns out perfectly. These tools help in achieving a smooth, even texture and proper baking. With these steps, you’ll be well on your way to crafting a delicious dessert that’s sure to impress.
Baking Process and Perfect Water Bath Technique
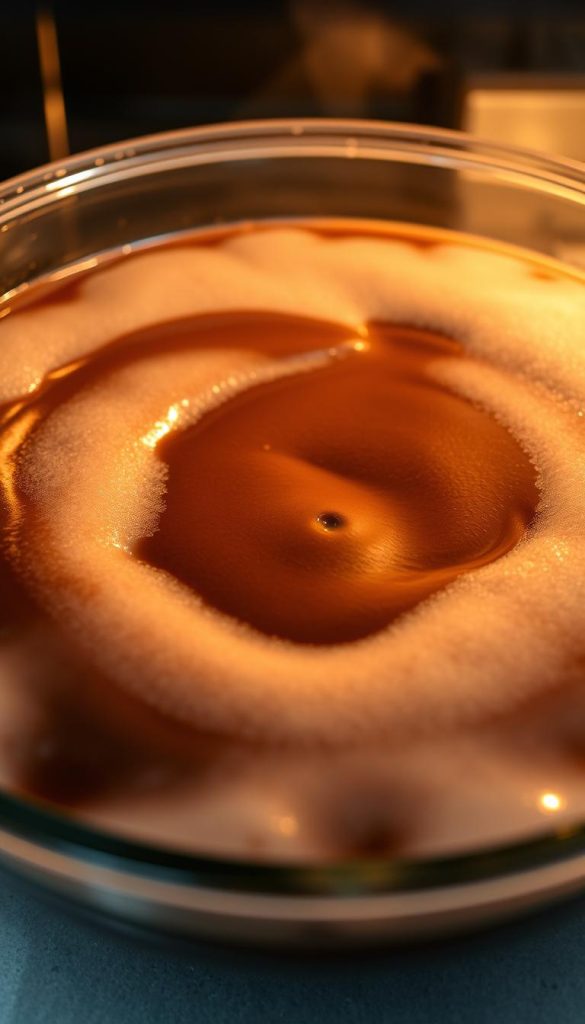
Baking your chocolate cheesecake requires precision and patience. A water bath is essential for even baking and preventing cracks. This method ensures a steady temperature around the cake, promoting a smooth texture and consistent cooking.
Setting Up Your Water Bath for Even Baking
To set up the water bath, place your springform pan inside a larger baking dish. Fill the larger pan with hot water to about halfway up the sides of the springform pan. This setup prevents leaks and ensures even heat distribution.
Monitoring Baking Time and Temperature
Bake the cheesecake at 325°F for about an hour. The edges should set while the center remains slightly jiggly. After baking, let it rest in the turned-off oven for an hour. This step helps develop a custard-like texture.
| Step | Details | Time |
|---|---|---|
| Water Bath Setup | Fill a larger pan with hot water halfway up the springform pan | – |
| Baking | Bake at 325°F until edges set and center is slightly jiggly | 1 hour |
| Oven Resting | Let rest in the turned-off oven | 1 hour |
A properly set water bath is crucial for a crack-free and evenly baked cheesecake.
By following these steps, you’ll achieve a dense yet smooth chocolate cheesecake with a bakery-quality finish. The water bath method is key to enhancing both structure and flavor.
Topping, Assembly, and Presentation Tips
The final touches on your dessert can make all the difference. Proper assembly and presentation elevate this dessert from delicious to dazzling.
Applying Cherry Pie Filling and Whipped Cream
Start by spreading a generous layer of cherry pie filling evenly over the cooled cheesecake. This adds a tangy contrast to the rich chocolate. Next, prepare the whipped cream by mixing heavy cream with a touch of vanilla extract until stiff peaks form. Spread or pipe the whipped cream over the cherry layer, ensuring smooth, even coverage.
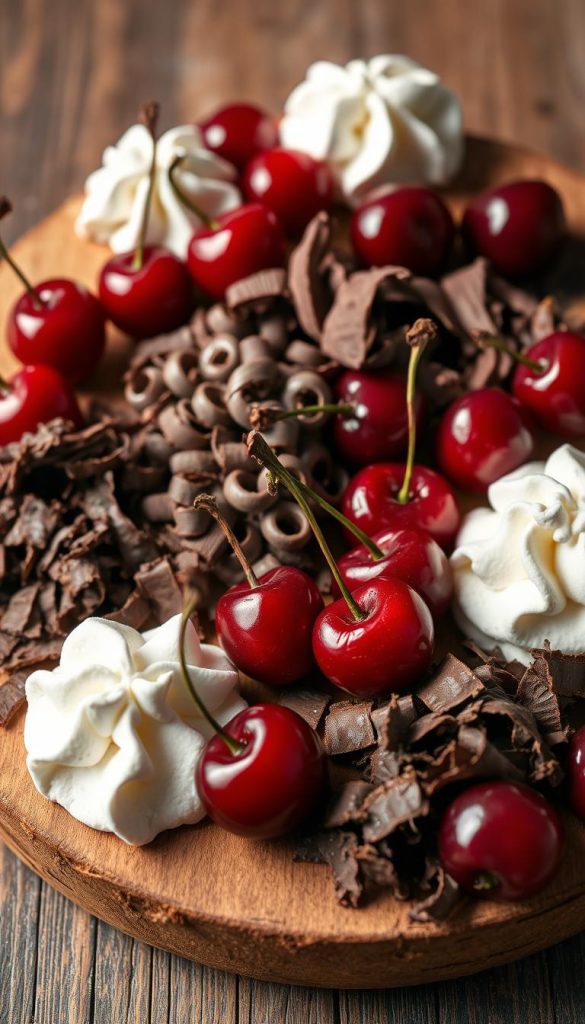
Enhancing with Chocolate Shavings and Curls
Add decorative flair with chocolate shavings or curls. Use a vegetable peeler on a semisweet chocolate bar for curls. Sprinkle these over the whipped cream for a luxurious finish. This not only enhances the visual appeal but also adds a delightful textural element.
| Topping | Quantity | Details |
|---|---|---|
| Cherry Pie Filling | 1 can | Provides tangy contrast |
| Heavy Cream | 1 cup | Mixed with vanilla for whipped topping |
| Semisweet Chocolate | 1 bar | For shavings and curls |
Allow the assembled dessert to sit for a few minutes to let the flavors meld. Use your springform pan correctly to maintain the cake’s integrity while assembling. Even distribution of toppings ensures every slice is as appetizing as it tastes.
Decadent Black Forest Cheesecake Recipe: Variations and Enhancements
Take your dessert to the next level with these creative twists on the classic recipe. Whether you’re looking for an adult-only flavor or a fruity surprise, these variations will inspire your culinary creativity.
Optional Twists with Kirsch and Alternative Fruit Fillings
Add a sophisticated touch by incorporating Kirsch (cherry brandy) into the filling for an adult twist. Start with a teaspoon and adjust to your taste. Alternatively, explore beyond cherries with raspberry or strawberry pie filling for a sweeter profile.
Customizing Texture and Flavor for Your Dessert
Subtle changes can make a big difference. Adjust the number of eggs for a denser or fluffier texture, or try using homemade cherry toppings for a personal touch. For precision, measure small ingredients like vanilla extract using a teaspoon to balance the flavors perfectly.
- Experiment with different garnishes, such as chocolate curls or fresh fruit, to personalize your dessert.
- Consider a forest cheesecake recipe variant for a unique presentation.
Customizing your dessert allows you to tailor it to any occasion, making every bite a unique experience.
These enhancements ensure your dessert stands out, whether you’re serving it at a dinner party or a special celebration. With a few simple tweaks, you can create a truly personalized treat.
Conclusion
Creating this indulgent dessert is a journey that combines classic flavors with modern techniques, resulting in a truly exceptional treat. From the crunchy Oreo crust to the luscious cherry topping, each component plays a vital role in crafting a dessert that impresses both visually and flavor-wise.
The detailed instructions and expert tips provided ensure that every bake yields a consistent, delicious result. Whether you’re a novice or an experienced baker, this recipe offers the flexibility to experiment with variations, such as adding a hint of Kirsch or using different fruit fillings, making it adaptable to any occasion.
Perfect for special days like Valentine’s Day or family gatherings, this dessert is sure to be a hit. The combination of rich chocolate, tangy cherries, and creamy textures creates a delightful experience that your guests will cherish. Don’t forget to share your creation on social media and let us know how it turns out—every slice is a testament to quality and flavor!


