Crockpot Coconut Curry Chick: Fall-Off-The-Bone Recipe
Warm, fragrant, and packed with bold flavors, this dish is perfect for busy weeknights. Let your slow cooker do the work while you enjoy tender, juicy chicken infused with aromatic spices. The rich coconut milk base balances the heat from ginger and cayenne, creating a comforting meal.

With just 10 minutes of prep, this recipe delivers fall-off-the-bone tenderness in 4 hours. Sweet potatoes add natural sweetness, while crispy shallot oil provides a satisfying crunch. Serve it over rice or quinoa for a complete, protein-packed dinner.
Customize the spice level or swap chicken for tofu to suit your taste. The dish also freezes well, making it ideal for meal prep. One bite of this creamy, flavorful creation, and you’ll be hooked!
Key Takeaways
- Minimal prep with 4-hour cook time in a slow cooker.
- Balanced flavors from coconut milk, turmeric, and ginger.
- Flexible protein options: thighs, breasts, or plant-based substitutes.
- Freezer-friendly for easy meal prep.
- Garnish with crispy shallot oil for added texture.
Why You’ll Love This Crockpot Coconut Curry Chick
Imagine coming home to tender chicken infused with bold spices—no babysitting required. This recipe delivers restaurant-quality depth with the ease of a slow cooker. Perfect for hectic days, it’s a flavor-packed solution that practically cooks itself.

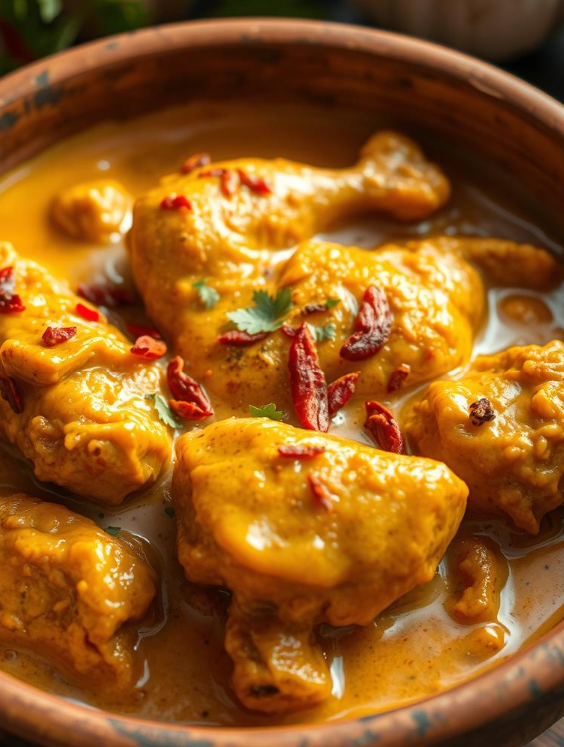
Tender, Flavor-Packed Chicken
Chicken thighs shine here, staying juicy even after long cook times. The low heat breaks down collagen, creating a melt-in-your-mouth texture. Sweet potatoes dissolve into the sauce, adding natural creaminess.
Spices like turmeric and ginger build layers of flavor, while garlic and shallots add aromatic depth. No pre-browning needed—just toss everything in and let the magic happen.
Effortless Slow Cooker Magic
The slow cooker handles all the work. Set it for 4–8 hours, and you’ll return to a meal that tastes like you spent all day stirring.
“It’s the ultimate ‘fix it and forget it’ dinner,”
says one busy parent.
- Time-saving: No stovetop monitoring required.
- Versatile: Adjust cook times to fit your schedule.
- Balanced: Coconut milk softens the heat from cayenne.
Whether you’re meal prepping or feeding a crowd, this dish adapts effortlessly. Just add rice or naan, and dinner’s done.
Key Ingredients for the Perfect Coconut Curry
Quality ingredients transform this meal from good to extraordinary. Each component plays a vital role, from the protein to the creamy base and aromatic spices. Here’s what makes the difference.

Chicken: Thighs vs. Breasts
Opt for chicken thighs for juicier results. Their higher fat content keeps them tender during slow cooking. Breasts work but can dry out faster without careful timing.
The Role of Coconut Milk
Coconut milk adds creaminess and balances heat. Full-fat versions prevent separation, giving a richer texture. Light alternatives thin the sauce and lack depth.
Essential Spices and Aromatics
Fresh garlic and ginger build a flavorful foundation. Turmeric adds color, while cayenne lets you control heat. For umami, fish sauce or soy sauce works wonders.
- Texture Tip: Thighs stay moist; breasts need shorter cook times.
- Creaminess Hack: Shake the can of coconut milk before opening.
- Spice Swap: Use ground coriander for earthy notes.
How to Make Crockpot Coconut Curry Chick
Ready to create a hands-off meal bursting with rich flavors? With just 20 minutes of prep, your slow cooker does the rest. Follow these simple steps for tender chicken and a velvety sauce.

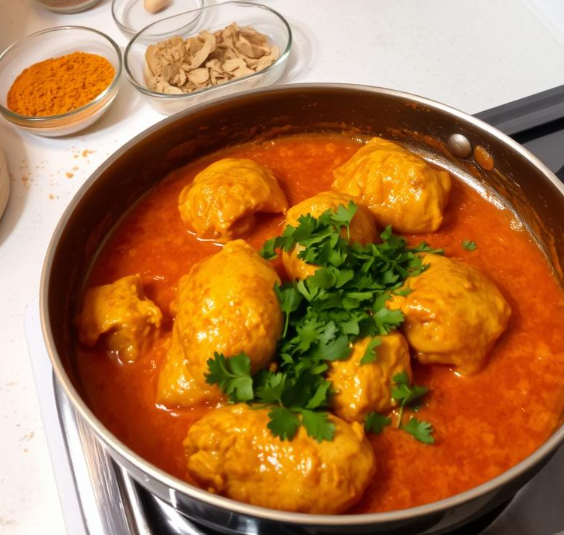
Step 1: Prep the Chicken and Aromatics
Start by tossing chicken thighs with spices like turmeric, cumin, and smoked paprika. This locks in flavor before cooking. Chop garlic, ginger, and onions—they’ll form the aromatic base.
Pro tip: Fresh spices make a difference. Check expiration dates for maximum potency.
Step 2: Layer Ingredients in the Slow Cooker
Place chicken at the bottom of the pot. Add sweet potatoes and bell peppers on top to prevent overcooking. Pour in coconut milk last to evenly coat everything.
- Order matters: Dense veggies stay firmer when layered above meat.
- No stirring needed: The slow cooker distributes heat evenly.
Step 3: Set It and Forget It
Cook on high for 2–3 hours or low for 4–6 hours. For a thicker sauce, remove the lid in the last 30 minutes. Stir in a cornstarch slurry if needed.
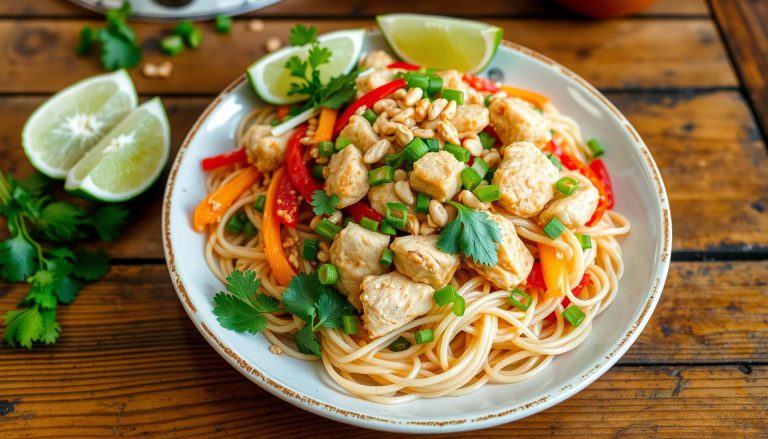
Instant Pot alternative: Use low pressure for 25 minutes, then natural release. Garnish with cilantro and serve over rice.
Cooking Times: Low vs. High Heat
Timing is everything when it comes to slow-cooked perfection. Your heat setting determines texture, flavor, and even sauce consistency. Here’s how to optimize both.

Best Practices for Tender Chicken
Low heat (4–6 hours) is ideal for thighs, letting collagen break down gradually. For breasts, stick to high heat (2–4 hours) to avoid dryness.
Always check the internal temperature—165°F ensures safety without overcooking. A meat thermometer removes the guesswork.
Adjusting for Sweet Potatoes or Veggies
Hardy veggies like carrots need just 3 hours. Add them later to keep their bite. Sweet potatoes, though, benefit from longer cooking—they melt into the sauce, thickening it naturally.
- Evaporation rates vary: High heat reduces liquid faster; add broth if needed.
- Layer wisely: Place dense veggies above chicken to prevent mushiness.
Stovetop and Instant Pot Variations
Short on time? These faster cooking methods deliver the same rich flavors in minutes. Whether you use an Instant Pot or a stovetop, you’ll enjoy tender chicken and aromatic spices—just with less waiting.
30-Minute Instant Pot Method
Set your Instant Pot to *sauté* for 5 minutes to brown the chicken. Add spices, garlic, and ginger, then pour in coconut milk. Seal the lid and cook on high pressure for 8–10 minutes.
Quick-release the pressure, then stir in sweet potatoes. Use the sauté function again to thicken the sauce if needed. Total time: under 30 minutes.
- Pro tip: Reduce spice quantities by 25%—pressure cooking intensifies flavors.
- No separation: Shake the coconut milk can well before adding.
Traditional Stovetop Approach
In a Dutch oven, simmer chicken and spices for 45 minutes on low heat. Stir occasionally to prevent sticking. Add veggies halfway through to keep them crisp.
Unlike the slow cooker, the stovetop requires attention but offers more control over sauce thickness. For a hands-off version, cover and let it bubble gently.
“A Dutch oven’s even heat mimics a slow cooker’s results—just faster,”
- Fix runny sauce: Mix 1 tbsp cornstarch with water and stir in during the last 5 minutes.
- Double the batch: This method scales easily for meal prep.
Serving Suggestions for Coconut Curry Chick
The right sides and garnishes can turn a good meal into a memorable feast. Balance creamy richness with fresh textures and bold contrasts. Here’s how to plate like a pro.
Perfect Pairings: Rice and Naan
Jasmine rice soaks up the sauce, adding floral notes. For low-carb options, try cauliflower rice. Warm naan in a skillet with garlic butter for a crispy, aromatic side.
- Floating rice: Rinse jasmine rice until water runs clear for fluffier results.
- Naan hack: Brush with garlic-infused oil before toasting.
Garnishes to Elevate the Dish
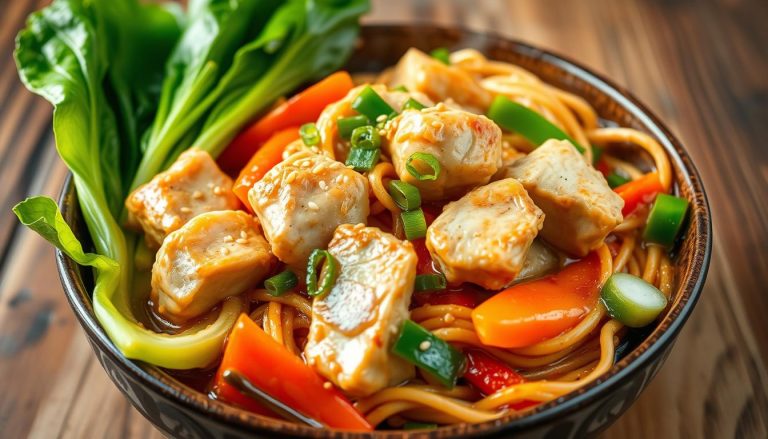
Fresh cilantro and lime zest brighten each bite. Crispy shallot oil adds crunch, while sliced chili brings heat. Toasted coconut flakes offer subtle sweetness.
| Garnish | Purpose |
|---|---|
| Basil leaves | Adds peppery freshness |
| Lime wedges | Cuts through richness |
| Yogurt drizzle | Balances spice |
“A squeeze of lime and a sprinkle of cilantro make all the difference.”
Wine pairing: Off-dry Riesling complements the spice. For non-alcoholic options, try mango lassi. Serve with a side salad for a complete meal.
Storage and Reheating Tips
Proper storage ensures every bite tastes as good as the first. Follow these guidelines to lock in flavor and texture, whether you’re saving leftovers or prepping meals ahead.
Freezing for Meal Prep
Portion cooked curry into airtight containers or silicone molds for easy freeze-and-go servings. Thaw overnight in the fridge before reheating.
- Fridge: Stores well for 3 days. Keep sauce separate to prevent sogginess.
- Freezer: Lasts up to 3 months. Label with dates to track freshness.
| Storage Method | Duration | Tips |
|---|---|---|
| Refrigerator | 3 days | Use glass containers to avoid odors |
| Freezer | 3 months | Remove excess air to prevent freezer burn |
Reviving Leftovers Without Losing Flavor
Reheat gently to preserve texture. A splash of coconut milk restores creaminess.
- Stovetop: Simmer on low, stirring occasionally (10–15 hours).
- Microwave: Heat in 30-second bursts, stirring between intervals.
“Add fresh herbs after reheating to brighten flavors.”
Avoid repeated freezing and thawing—it breaks down sauces. Repurpose extras into wraps or grain bowls for new meals.
Common Questions (Answered)
Got questions about perfecting your curry? We’ve got answers. Below, solve two frequent challenges—runny sauce and coconut milk swaps—with pro tips.
Fixing Runny Curry Sauce
A thin sauce can ruin the dish. For a quick fix, mix 1 tbsp cornstarch with 2 tbsp water, then stir into the simmering curry. Cook for 5 minutes to thicken.
Prefer no additives? Simmer uncovered to reduce liquid or blend softened veggies like sweet potatoes for natural creaminess. Avoid dairy (e.g., yogurt), which may curdle.
Can You Use Light Coconut Milk?
Light coconut milk works but lacks richness. For best results, reduce it longer or add a roux (1 tbsp butter + 1 tbsp flour). Full-fat versions prevent separation and add depth.
- Separation fix: Shake the can well or blend with an immersion blender.
- Fat matters: Full-fat binds spices better, while light versions dilute flavor.
“A cornstarch slurry is my go-to for glossy, restaurant-worthy sauce.”
Conclusion
This recipe proves that great meals don’t need complicated steps. With minimal prep and flexible ingredients, it fits gluten-free or dairy-free diets effortlessly. Adjust the heat level to your liking—mild for kids or extra spicy for bold flavor lovers.
Share your creations online using #SlowCookerMagic. Hungry for more? Try our ginger sesame chicken or coconut cauliflower adobo next. Both deliver the same hands-off ease.
Did you make this dish? Rate it below and tag us in your photos. Your tweaks might inspire others to whip up their own version tonight!