How to Make Perfect Brine Chicken Thighs Recipe
Table of Contents
Last summer, my grandmother’s secret to impossibly juicy chicken changed everything I knew about cooking. She taught me that brining chicken thighs isn’t just a cooking technique—it’s an art form. It transforms ordinary poultry into a mouthwatering masterpiece. With her wisdom echoing in my kitchen, I’m excited to share a brine chicken thighs recipe that will revolutionize your home cooking.
Imagine cutting into a chicken thigh so tender and flavorful that every bite feels like a culinary celebration. The chicken brine solution is your gateway to achieving this gastronomic perfection. Brining chicken isn’t complicated—it’s a simple technique. It guarantees moisture, enhances flavor, and elevates your cooking from good to extraordinary.
Key Takeaways
- Brining transforms chicken texture and taste
- Ideal brining time varies by chicken cut
- Salt and water are the fundamental brine ingredients
- Proper temperature control is crucial
- Brining works for multiple cooking methods
What is Brining and Why You Should Do It
Brining is a game-changer in cooking. It turns regular chicken into a feast for the taste buds. By brining chicken thighs, you make them moist and full of flavor.
The science of brining is amazing. Soaking chicken in saltwater helps it keep moisture during cooking. This makes your chicken juicy and tender, even when it’s cooked hot.
Benefits of Brining Chicken
- Increases moisture retention
- Enhances natural chicken flavor
- Creates more tender meat texture
- Reduces risk of dry, tough chicken
How Brining Enhances Flavor
Salt is the magic in brining for chicken thighs. It breaks down proteins, letting the meat soak up more water and seasonings. This results in chicken that’s tender, juicy, and full of flavor.
| Brining Duration | Flavor Intensity | Texture Result |
|---|---|---|
| 1-2 hours | Mild | Slightly more tender |
| 4-6 hours | Perfect seasoning | Noticeably tender and juicy |
| 8+ hours | Potentially too salty | Very tender but may overwhelm flavor |
The Science Behind Brining
Brining chicken thighs creates a moisture highway. The salt solution relaxes proteins, keeping water molecules in the meat. It’s like giving your meat a hydration boost!
“Brining is the secret weapon that transforms ordinary chicken into a culinary masterpiece.” – Professional Chef
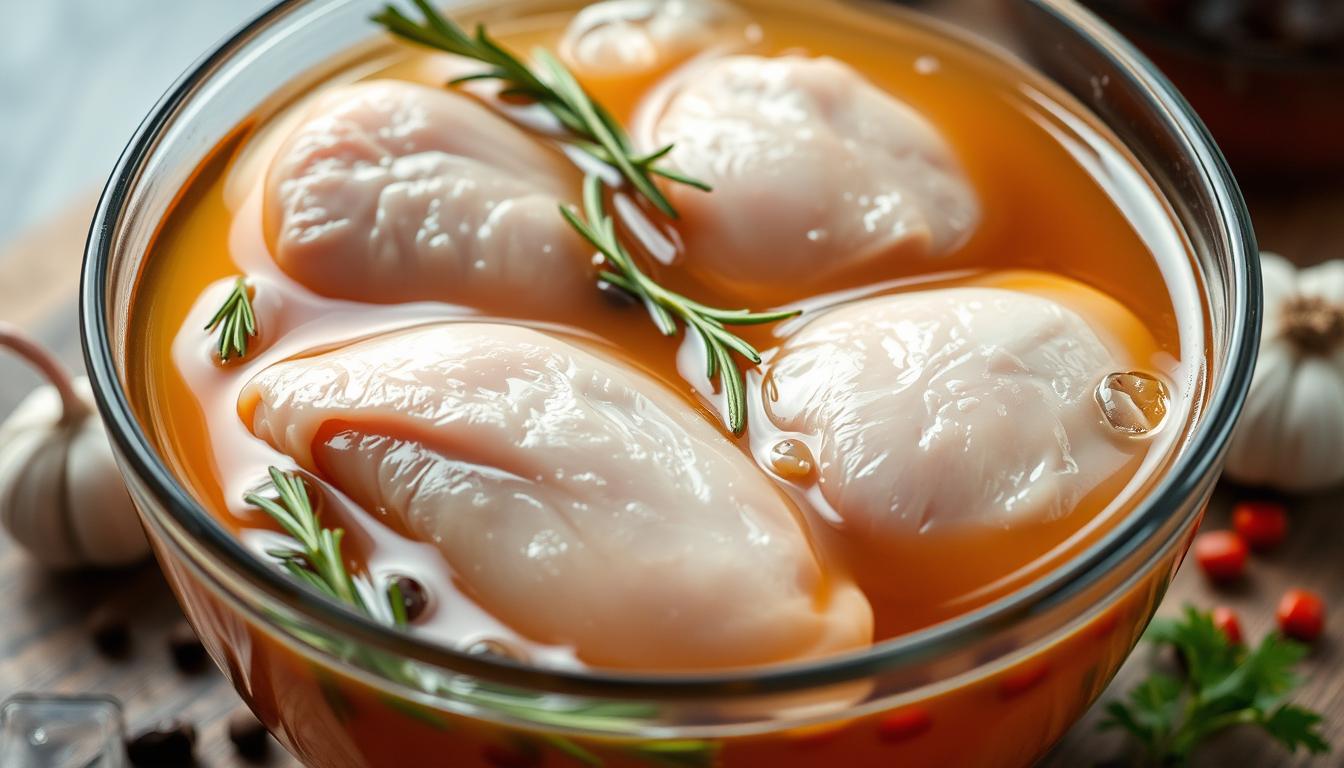
Ingredients for Brine Chicken Thighs
Starting with the right ingredients is key to a great chicken marinade. Knowing what to use can turn simple chicken into a delicious dinner. It’s sure to wow your family and friends.
Essential Brine Ingredients
The base of a good chicken brine includes a few important things:
- Water (8 cups)
- Kosher salt (1/2 cup)
- Honey or sugar (1/4 cup)
Optional Flavor Enhancers
To make your chicken dinner even better, add these:
- Fresh herbs (rosemary, thyme, parsley)
- Whole black peppercorns
- Garlic cloves
- Dried bay leaves
- Lemon slices
Choosing the Right Chicken Thighs
| Chicken Thigh Type | Recommended Brining Time | Weight Range |
|---|---|---|
| Boneless Skinless | 2 hours | 1.5-2 pounds |
| Bone-in Skin-on | 4 hours | 1.5-2 pounds |

Choose fresh, quality chicken thighs. Bone-in and skin-on varieties have more flavor and can brine longer. A good recipe uses 8-10 chicken thighs, weighing 1.5 to 2 pounds.
“The secret to a memorable chicken marinade lies in the quality of ingredients and proper brining technique.”
Basic Brine Recipe
Making the perfect chicken brine is an art that turns simple chicken into a delicious dish. It’s key for those who love easy chicken recipes or want to improve their cooking. Knowing the right brine recipe is essential.

The secret to a great brine is finding the right mix of ingredients. Let’s look at the main parts of a top-notch chicken brine solution.
Salt and Water Ratio
The magic begins with exact measurements. Here’s a simple ratio for your chicken brine:
- 1 gallon of warm water
- 6 tablespoons of kosher salt (Diamond Crystal)
- 4.5 tablespoons of Morton’s kosher salt
- 3 tablespoons of fine table salt
Sweet and Aromatic Additions
Make your brine even better with extra flavors:
- Brown sugar (1-2 tablespoons)
- Garlic granules
- Fresh herbs
- Citrus zest
- Whole peppercorns
Personalizing Your Brine
Your taste matters! Try different flavors and spices. Pro tip: Blend onion, garlic, and herbs in a food processor for deep flavor.
“The secret to juicy, flavorful chicken is in the brine.” – Professional Chef
Brining Time Guidelines
| Chicken Cut | Recommended Brining Time |
|---|---|
| Chicken Breasts | 8-12 hours |
| Chicken Thighs | 8-12 hours |
| Whole Chicken | 12-24 hours |
| Chicken Wings | Up to 8 hours |
A good chicken brine can add 10-15% more moisture to your meat. This makes your chicken juicy and full of flavor in your easy chicken recipes.
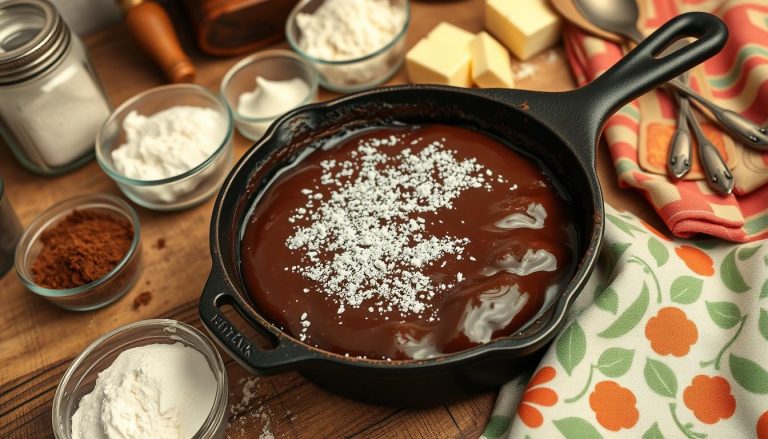
Preparing the Brine
Making a great brine for chicken thighs needs careful steps and attention. This process turns regular chicken into a tender, tasty dish that will wow your guests.

To start your chicken marinade, pick the right ingredients and mix them carefully. Here are the key steps for a perfect brine.
Mixing Brine Ingredients
To make the best brine for chicken thighs, follow these steps:
- Use 1 cup of kosher salt per 1 gallon of water
- Add 1/4 cup brown sugar for extra flavor
- Include 2 tablespoons of BBQ seasoning
- Think about adding herbs or citrus zest for extra taste
Heating and Dissolving Ingredients
Warm water helps dissolve the salt and sugar in your brine. Pro tip: Stir until all granules are fully incorporated.
| Ingredient | Quantity | Purpose |
|---|---|---|
| Kosher Salt | 1/4 cup | Primary seasoning |
| Brown Sugar | 1/4 cup | Balance saltiness |
| Water | 1 gallon | Brine base |
Cooling the Brine Properly
Let the brine cool to 35°F to 40°F before adding chicken thighs. This keeps the meat safe and absorbs flavors well.
“The secret to a perfect brine is patience and precision in temperature control.” – Culinary Expert
Don’t brine chicken thighs for more than 24 hours to avoid too much salt or mushiness. The best time is 6-12 hours for juicy, tasty results.
How Long to Brine Chicken Thighs
Brining chicken is an art that turns ordinary poultry into a delicious treat. Knowing the right brining time is key to making juicy chicken full of flavor and tenderness.

Ideal Brining Times for Perfectly Moist Chicken
The secret to juicy chicken is in the brining time. Here’s how different times affect the result:
- 15-30 minutes: Lightly salted flavor with minimal texture change
- 1 hour: Perfectly seasoned, noticeably tender chicken
- 2 hours: Maximum flavor intensity, still enjoyable texture
Avoiding Over-Brining Pitfalls
Be careful with brining times. Brining for more than 2 hours can make the meat too salty and tough. Precision is key when brining chicken.
| Brining Duration | Flavor Intensity | Texture Quality |
|---|---|---|
| 30 minutes | Light | Slightly tender |
| 1 hour | Perfect | Very tender |
| 2 hours | Intense | Tender |
| 4+ hours | Overly salty | Compromised |
Signs of Perfectly Brined Chicken
Look for these signs to know if your chicken is perfectly brined:
- Increased plumpness
- Slightly firmer texture
- Consistent seasoning throughout
- Moist and flavorful meat
Pro tip: For the most moist chicken, aim for a 1-hour brining time with a balanced salt solution.
Rinsing and Drying Chicken Thighs
Getting your brined chicken thighs ready for cooking is all about the details. Rinsing and drying are key steps for tasty chicken dinner ideas. They will surely impress your loved ones.
Why Rinsing Isn’t Always Necessary
Rinsing brined chicken thighs can spread harmful bacteria in your kitchen. Instead, follow these important steps:
- Remove chicken from the brine carefully
- Pat chicken thighs completely dry with paper towels
- Ensure surface moisture is completely eliminated
Proper Drying Techniques
Drying your brined chicken thighs is crucial for crispy, golden-brown skin. The secret is thorough patting with clean paper towels. Without drying, you won’t get that perfect browning and texture.
“A perfectly dried chicken thigh is the foundation of an incredible meal” – Professional Chef
Preparing for Cooking
After drying, you have a few options for your brined chicken thighs:
- Cook immediately for maximum freshness
- Store in refrigerator for up to 3 days
- Freeze for future chicken dinner ideas (up to 2 months)
When storing, wrap the chicken thighs tightly. This prevents moisture loss and freezer burn. Your perfectly brined and dried chicken is now ready for a great meal!
Cooking Methods for Brined Chicken Thighs
Turning your savory chicken into a tasty meal needs you to know how to cook. Brined chicken thighs are easy to make and can be cooked in many ways. This lets you try different methods to make your chicken even better.
Choosing the right cooking method is key for juicy and flavorful brined chicken thighs. Each method brings out something special in your chicken. This makes your meal a joy to eat.
Grilling Brined Chicken Thighs
Grilling gives your chicken a smoky taste and a nice char. Here’s how to grill it perfectly:
- Preheat grill to medium heat (around 375-400°F)
- Clean and oil grill grates
- Cook chicken thighs for 4-5 minutes per side
- Ensure internal temperature reaches 170-175°F
Baking Brined Chicken Thighs
Baking cooks your chicken evenly and consistently. Follow these steps for great results:
- Preheat oven to 425°F
- Place chicken thighs on a baking sheet
- Bake for 20-25 minutes
- Check internal temperature reaches 170-175°F
Pan-Searing Brined Chicken Thighs
Pan-searing makes your chicken crispy on the outside and tender inside. Here’s how to do it right:
- Use a heavy-bottomed skillet
- Heat pan with a small amount of oil
- Sear chicken thighs 5-7 minutes per side
- Ensure internal temperature hits 170-175°F
“The key to perfect brined chicken thighs is maintaining the right internal temperature and avoiding overcooking.”
| Cooking Method | Temperature | Cooking Time |
|---|---|---|
| Grilling | 375-400°F | 4-5 minutes per side |
| Baking | 425°F | 20-25 minutes |
| Pan-Searing | Medium-High Heat | 5-7 minutes per side |
Whichever method you choose, let the chicken rest for 5-10 minutes after cooking. This lets the juices spread out, making your chicken moist and full of flavor. Your dinner guests will love it.
Flavoring Options After Brining
After brining your chicken, you can add many exciting flavors. A well-brined chicken is perfect for extra seasonings. This turns your dish from great to amazing.
Marinades for Extra Flavor
A chicken marinade can really boost your dish’s flavor. Here are some tasty options:
- Citrus-based marinades with lemon or orange juice
- Herb-infused olive oil blends
- Yogurt-based marinades with Mediterranean spices
Spice Rubs to Apply
Dry spice rubs make a fantastic crust on brined chicken. Pro tip: Dry your chicken before rubbing to stick better.
- Paprika and garlic powder blend
- Smoked chili and cumin mix
- Herbs de Provence combination
Adding Glazes During Cooking
A good glaze can turn your chicken into a masterpiece. Use these in the last minutes of cooking. This prevents burning and adds a tasty caramelized layer.
“The right glaze turns good chicken into a memorable meal.” – Professional Chef
- Honey mustard glaze
- Teriyaki sauce
- Barbecue sauce reduction
Remember to add glazes lightly in the last 4-6 minutes. This prevents burning and gets that perfect golden look.
Serving Suggestions
Creating a great chicken dinner is more than just cooking the chicken. The right sides can make your brined chicken thighs a hit with family and friends.
Best Side Dishes to Complement Brined Chicken
Your easy chicken recipes need amazing sides. Here are some top picks:
- Lime-cilantro rice with grilled pineapple chunks
- Roasted seasonal vegetables
- Fresh garden salad with citrus vinaigrette
- Creamy mashed potatoes
- Quinoa pilaf with herbs
Sauce Pairings for Enhanced Flavor
Boost your chicken dinner with these tasty sauces:
| Sauce Type | Flavor Profile | Best Pairing |
|---|---|---|
| Citrus Herb Sauce | Bright, Tangy | Grilled Chicken Thighs |
| Garlic Aioli | Creamy, Rich | Baked Chicken Thighs |
| Honey Mustard | Sweet, Tangy | Pan-Seared Chicken Thighs |
Presentation Tips for Spectacular Serving
Make your chicken look as good as it tastes with these tips:
- Garnish with fresh herbs like parsley or cilantro
- Add lemon or lime wedges on the side
- Serve on a warm platter
- Drizzle a small amount of sauce artfully
- Pair with grilled citrus halves for visual appeal
*Pro tip: Always let your chicken rest for 5-7 minutes after cooking to redistribute juices and ensure maximum flavor and tenderness.*
With these tips, your brined chicken thighs will shine. They’ll turn simple chicken dinners into memorable meals.
Storing Leftover Brined Chicken Thighs
After cooking your brined chicken thighs, it’s important to know how to store leftovers. This helps in making easy chicken recipes and using meal prep to its fullest. Proper storage lets you enjoy your chicken dinner ideas all week long.
Proper Storage Techniques
Put your leftover brined chicken thighs in an airtight container to keep them fresh. Here are some storage tips:
- Refrigerate within 2 hours of cooking
- Keep in sealed container for up to 3 days
- Wrap tightly if freezing for up to 3 months
Reheating Leftovers
When reheating brined chicken, be gentle to keep it moist and flavorful. Pro tip: Try to avoid microwaving, as it can dry out the meat.
- Preheat oven to 350°F
- Place chicken in oven-safe dish
- Cover with foil to retain moisture
- Heat for 10-15 minutes until internal temperature reaches 165°F
Creative Uses for Leftovers
Turn your leftover brined chicken thighs into new and exciting chicken dinner ideas:
- Shred for tacos or salads
- Slice for sandwiches
- Cube for casseroles
- Top grain bowls
“Leftover chicken is like a blank canvas for culinary creativity!” – Chef’s Wisdom
With these tips, your brined chicken thighs will stay delicious and versatile. This makes meal planning easy and fun.
Troubleshooting Common Brining Issues
Brining chicken can sometimes lead to problems. Knowing how to fix these issues will help you make your chicken brine solution better. This way, you’ll get tasty results every time.
Overly Salty Chicken
If your chicken tastes too salty, you might have brined it too long or used too much salt. To fix this, rinse the chicken well under cold water. Then, soak it in plain water for 1-2 hours before cooking. This method helps cut down on salt and brings back a balanced taste.
Texture Problems
Brining too long can make your chicken tough and rubbery. Always follow the recommended brining times. For bone-in chicken thighs, brine for 2-4 hours. For whole chickens, brine for no more than 12 hours.
Using the right amount of salt is key. Aim for 1 tablespoon of salt per cup of water. This keeps the meat tender and moist.
Flavor Inconsistencies
To get consistent flavor, prepare your brine carefully. Make sure the brine solution is well mixed and the chicken is fully covered. When adding garlic or herbs, give them enough time to infuse flavors into the meat.
Always use kosher salt and measure ingredients accurately. This ensures your chicken turns out delicious every time.
FAQ
What is brining and why should I do it?
How long should I brine chicken thighs?
Do I need to rinse the chicken after brining?
What type of salt should I use for brining?
Can I add extra flavors to my brine?
What cooking methods work best for brined chicken thighs?
How do I store leftover brined chicken thighs?
What if my chicken turns out too salty?
Did you try this recipe? Share your thoughts!
There are no reviews yet. Be the first one to write one.